Lets get started!
------------

STEP 1
Here is the image that we will be coloring today and creating a non card project with.

The first thing that you will want to do is grab a peice of scrap white cardstock (the same kind you printed your digi image off from). You will want to practice the brick technique because it will push the
color slightly out and could ruin your image if you do not see how it feels at first. This is of course hardest with dark colors such as the brown I will be using (E37). Go ahead and color or scribble a nice area for you to practice in.

STEP 3
Once you have the color you will be using scribbled on a scrap piece of paper, grab your colorless blender (0) and for the next steps we will be using the BROAD tip. I always love doing this technique because I feel like I never get to use the broad tips of my markers!

STEP 4
For this picture I had my husband take a picture of me doing the technique, so this is how you would see me doing it. But in your hand you will hold the marker so the longer part of the broad tip will hit the paper first on the left hand side.

STEP 5
Then slowly "roll" the broad tip down so the rest of the tip is touching the paper flush. Hold for a few seconds. You can practice holding at different seconds. Of course the longer you hold it down the more color is erased and can be spread.
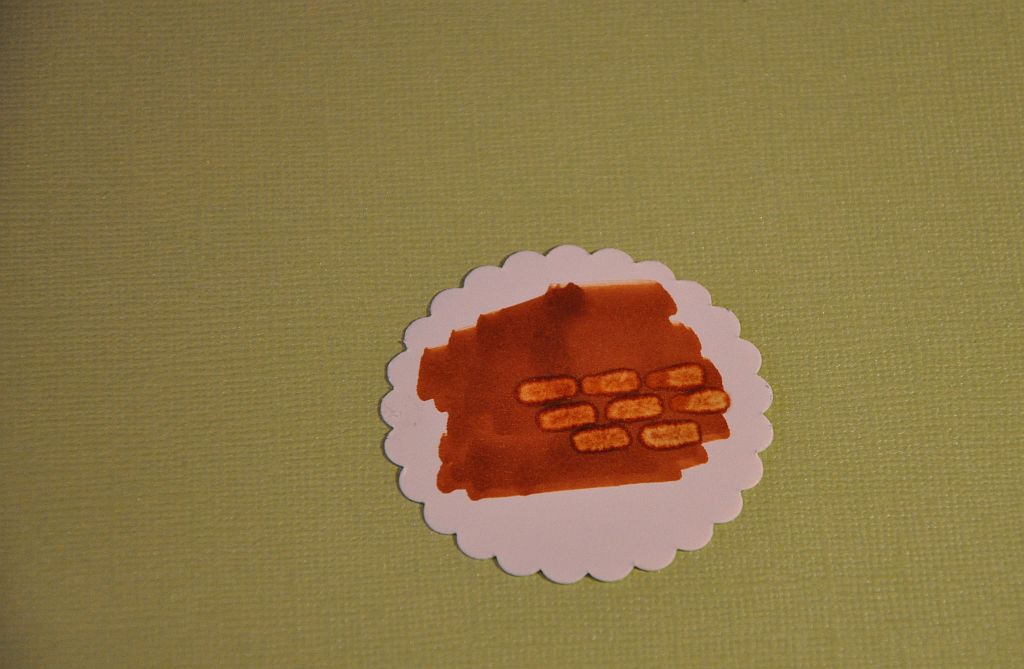
STEP 6
Try it out a few times and you can start to see the brick pattern!

STEP 7
When you are ready to try it on your digi image go ahead and color the entire building. I stayed with E37 but if you didnt like the color you chose first then pick another one.

 STEP 8
Here is the building done. Where you cannot fit the whole tip just sort of drag the tip (from the longest end) to get rid of the color and look like the technique. BUT you can see where the color runs because the colorless blender pushed it out. Go back over it with the brush end of the blender and using a sweeping motion, push it back to the line of the image. It should get rid of alot of the messed up lines. This is why it is very important to use great paper with Copics!
STEP 9
Color in the rest of the image. Here are the colors I used:
Bricks- E37, 0
Canapy/Curtains- RV04
Sidewalks/Plant boxes- C5
Flowers/Doormat/Sign- Y08
Street light/windows/store- W-5
Clounds/Shutters-BG10

STEP 10
I wanted to create a non card project so I created a gift bag. This is perfect to give your stamping friend some extra goodies you will never use or have duplicates of and make their day or birthday!! I also added "For You" on the empty sign holder with a Copic Multi-liner.
I hope you enjoyed this technique!! See you next time. Be sure to check out my blog (scrappinash.blogspot.com) for more Copic tips and tutorials


